Return to Center
A wearable device for interrupting panic attacks
Background
“A panic attack is a sudden episode of intense fear that triggers severe physical reactions when there is no real danger or apparent cause.” - Mayo Clinic
There are several ways to get through a panic attack - one of them involves focusing on some external stimulus. This can be holding ice, sucking on a sour candy, or anything else that is distracting and activates one of the five senses.
“Panic ensues when our amygdala triggers the flight or fight response. One way to dampen our amygdala’s response and mitigate panic is by turning our attention to the present moment through our senses: taste, smell, touch, sight, and hearing,” Toya Roberson-Moore, MD, associate medical director and psychiatrist at Pathlight Mood & Anxiety Center, told Health.
She continued, “Sour candy shifts our attention quickly to the sense of taste, intensely, which in turn dampens our amygdala (the feeling part of the brain) and gives us better access to our frontal cerebral cortex (the thinking part of our brain).”
The result? The thinking part of our brain sends the message to the feeling part that we are not in actual danger.
Early inspiration for the project comes from eye movement desensitization and reprocessing (EMDR) therapy, which is a method that is used for processing traumatic memories. It uses a concept called bilateral stimulation, which “is the process of using sounds, tapping, or eye movements on one side of the body before crossing over to the next side, therefore activating both hemispheres of the brain” (choosingtherapy.com/bilateral-stimulation/). During EMDR therapy, the client attends to emotionally disturbing material [recalls a distressing memory] in brief sequential doses while simultaneously focusing on an external stimulus” (emdr.com/what-is-emdr/). Lisa Jellison, a licensed clinical social worker who practices EMDR, explained that when a person is revisiting a distressing memory while experiencing bilateral stimulation, the logical side of their brain can’t shut down and it enables the person to process the memory rather than spiral into distress. The external stimulation acts like an anchor, distracting the person just enough that they can’t quite devote their full attention to the memory.
One device that can be used for EMDR is called a TheraTapper, which uses vibration. The device has two paddles to be held in each hand by the patient and a control box, which is used by the therapist. While the patient is revisiting the painful memory, the paddles vibrate and the therapist periodically adjusts the speed and intensity to prevent the patient from getting accustomed to the pattern.
What is it and how does it work?
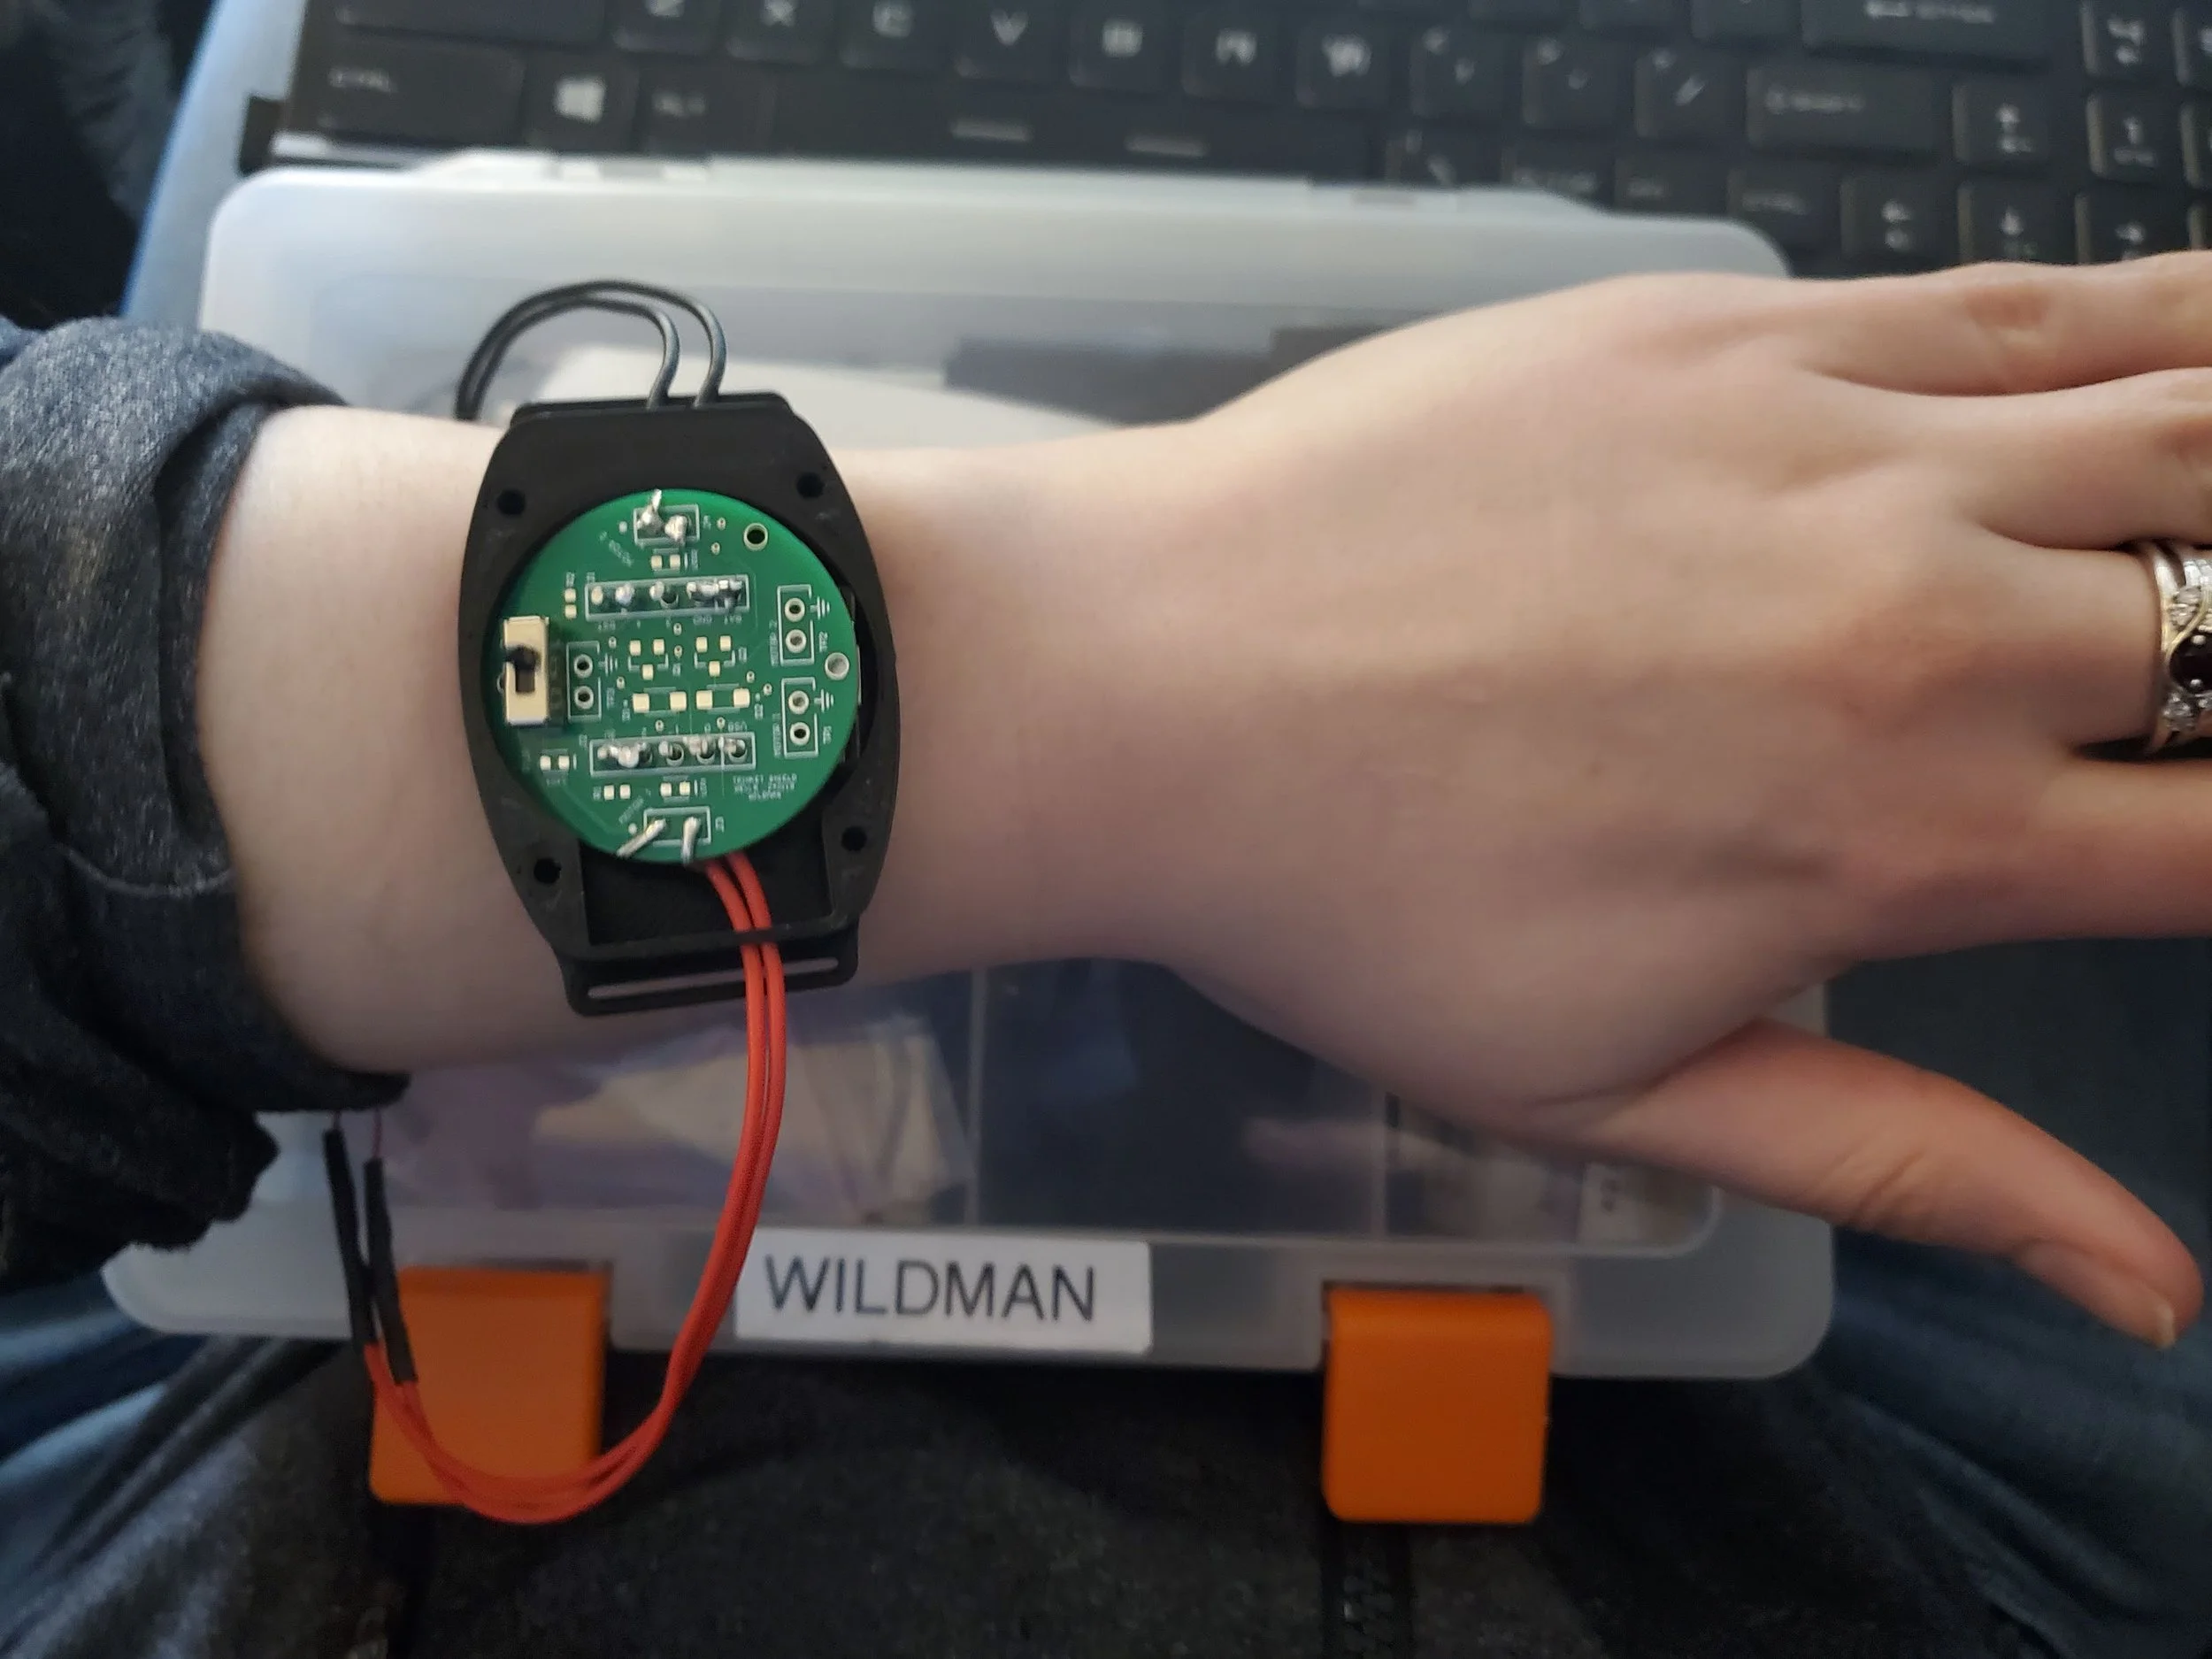
Return to Center is a wrist-worn device with two motors located in the wristband. When activated, these motors vibrate at random intervals.
Inspired by the TheraTapper, this vibration serves as an external stimulus that the user can focus on and use to ground themselves. It is not soothing, instead bordering on annoying so that it is difficult to ignore. The patterns are random to prevent the user from getting accustomed to the sensation and tuning it out.
Process
Getting Started
It started from an Adafruit project called a Buzzing Mindfulness Bracelet. The bracelet uses a single motor that occasionally buzzes to make the wearer more mindful of things like time passing or if they should get up to walk around for a moment.
I adapted this circuit to run two motors, which worked well. Next step was to shrink the electronics down into printed circuit board (PCB) form.
First PCB and Initial Tests
With the help of mentor Kelli Noirot, the first PCB was made using the same footprint as an Adafruit GEMMA M0. This was the microcontroller used in the original Adafruit project and I originally planned to use it as well. However, in order to be as compact as possible the PCB needed to be a shield, which would not be compatible with the GEMMA. I shifted to using a Trinket M0 for the microcontroller, but the GEMMA was an acceptable size for a wearable, so we kept that footprint. When assembled, the Trinket was mounted underneath the shield and one motor was mounted underneath the Trinket to sit on top of the wrist while the other connected to the shield with longer wires to be on the underside of the wrist. Battery placement had not yet been decided.
In order to conduct initial testing, I attached two pieces of Velcro to the Trinket to serve as a temporary wristband. The motor that went on the bottom of the wrist was just tucked underneath the Velcro once the ‘band’ was secured. Testing was done with six people and myself. I did not find that it had the desired effect of bilateral stimulation, but user testing indicated that it still felt distracting. Two of the users have experienced panic attacks before and they believed that it would be effective.
Now that the electronics appeared to work as intended, it was time to begin on the case.
Further details:
Case Design
Case 1
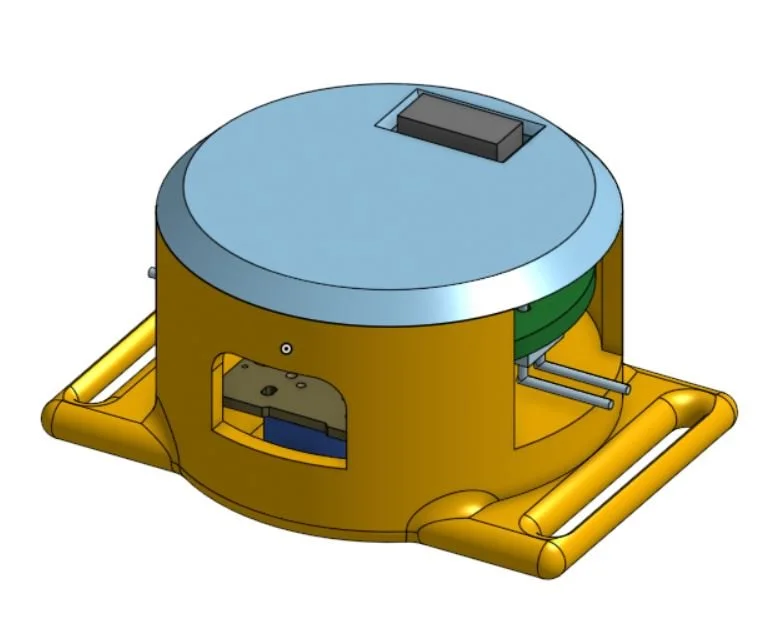
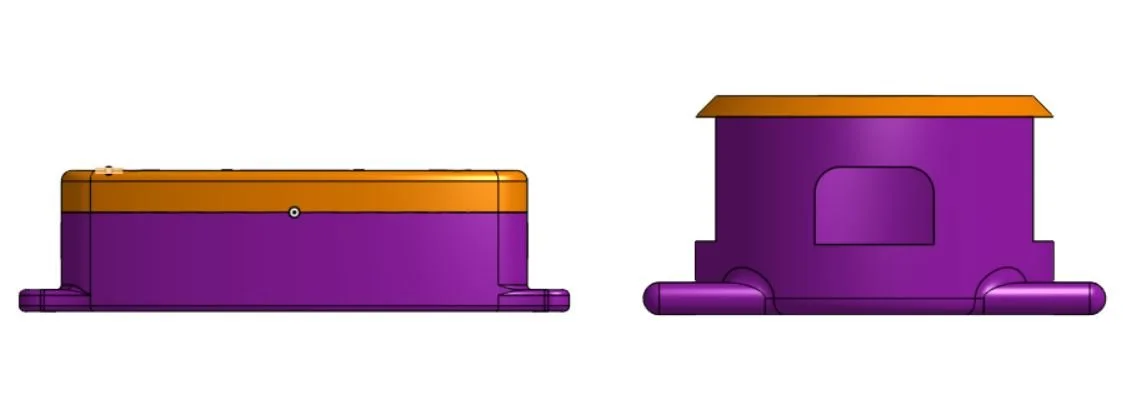
The first case iteration had two main goals: start with making a shell around the electronics and make it possible to attach to a wristband. The result was a very tall case with a height of 21.27mm. For comparison, my Garmin Venu 2S is 12.1mm tall. Wearing a device that’s nearly twice the height of a smartwatch would be incredibly awkward and impractical, so this would be the focus of the next iteration.
I did use this case for testing if the motor mounted to the Trinket would still be effective from inside of a case. It was no longer effective. The case distributed the vibration so much that you ultimately couldn’t feel much from it. Both motors would have to be located in the band going forward; they’d sit on the sides of the wrist instead of the top and bottom.
Further details:
Case 2
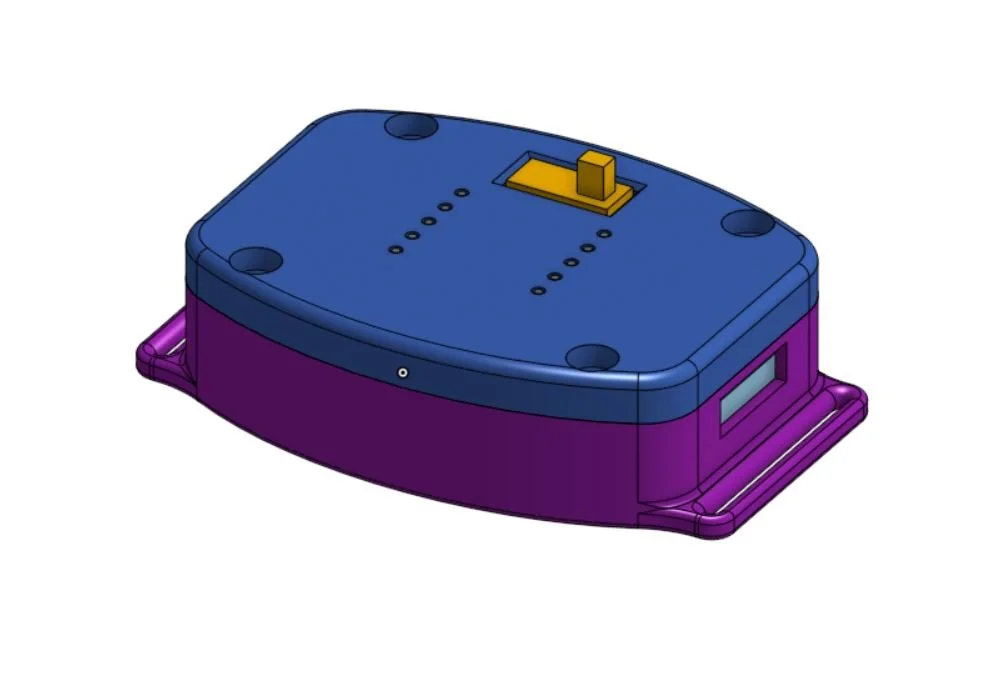
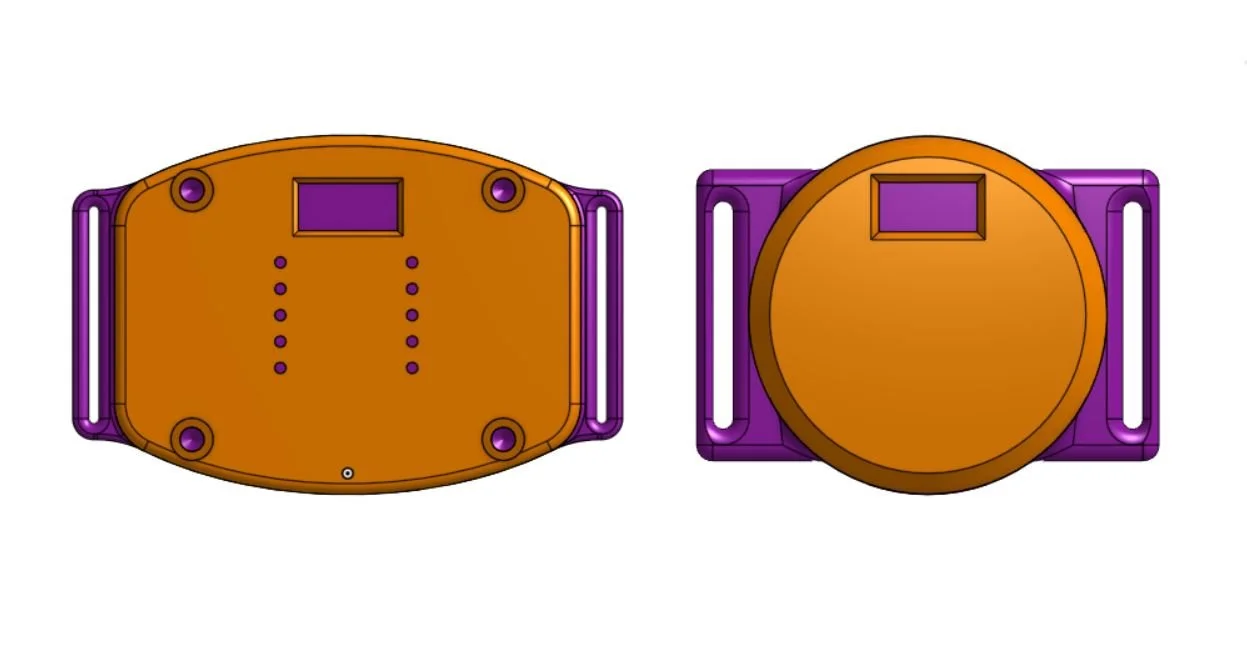
The top priority of the second iteration was reducing height. Relocating the one motor to the wristband reduced the height a little bit and the battery was relocated from sitting on top of the shield to underneath it, beside the Trinket. The resulting case stood at a much more acceptable 13.51mm. However, size remained an issue because now it had a large footprint spanning 52.93mm long and 34.87mm wide. It looked reasonable on larger wrists, but it would not work for smaller ones.
This design also had other issues. With how the wires for the motors would have to be mounted, the battery would be trapped inside with no way to remove it or access the connector for recharging. The battery connector hadn’t been factored into the design either.
Further details:
Case 3
It was becoming clear that the size of the shield needed to change if the case was going to shrink any more. So, a new PCB was ordered that had the same footprint and thickness as the Trinket. The new case was designed so that the battery could sit next to the PCB assembly and room was left for a battery connector.
This case was 10.87mm tall, 20.8mm wide, and 51.97mm long. The scale was significantly better for smaller wrists, but the length was still an issue because the ends stuck out awkwardly. Other problems included that a switch was not accounted for, there was very little room for wires, the tabs for the wristband were weak, and the cap was attached by tiny M1.2 screws that were extremely difficult to secure. Despite the issues, this is the foundation model for the final case design.
Further details:
https://cwiildman.squarespace.com/capstone-project/week-7
Case 4
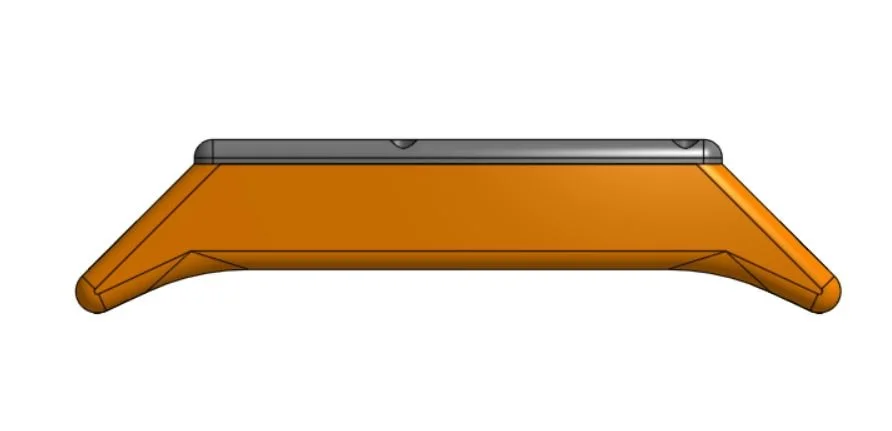
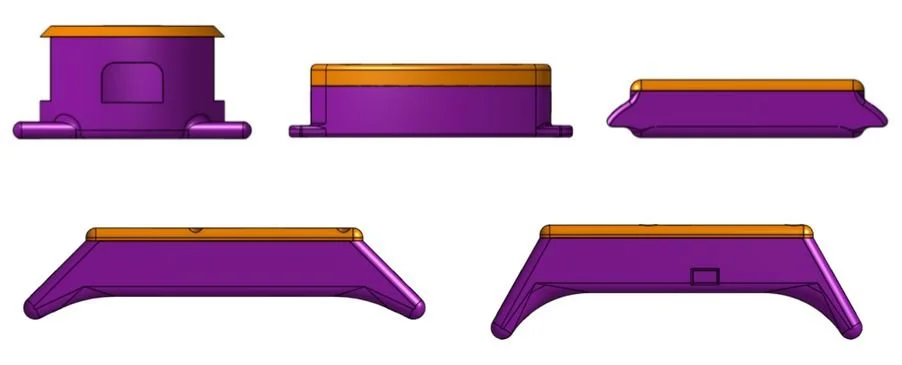
The only intention with iteration 4 was to focus on making it wrist-shaped. To accomplish this, the tabs were angled down so that the case could curve around the wrist. The first attempt got close – it fit larger wrists perfectly but still stuck out awkwardly on small ones. Ultimately, I wanted it to at least fit my own wrist, which hadn’t happened yet.
Further details:
Case 5
Continuing to make the case more wrist-shaped was the first priority. I modified the angle from case 4 to be much steeper, which was a huge improvement. The case has to sit a little further up my arm than I would prefer in order to fit, but it was close enough to be satisfactory.
Now it was time to address the other issues with case 3.
The cap was secured with M1.2 screws because the walls of the case were so thin that anything larger would be too big. Screws this tiny were not practical – it was extremely difficult to secure the screws in the first place and it was very easy to strip them. The case was widened a bit to make the walls thicker, which allowed for M1.4 screws.
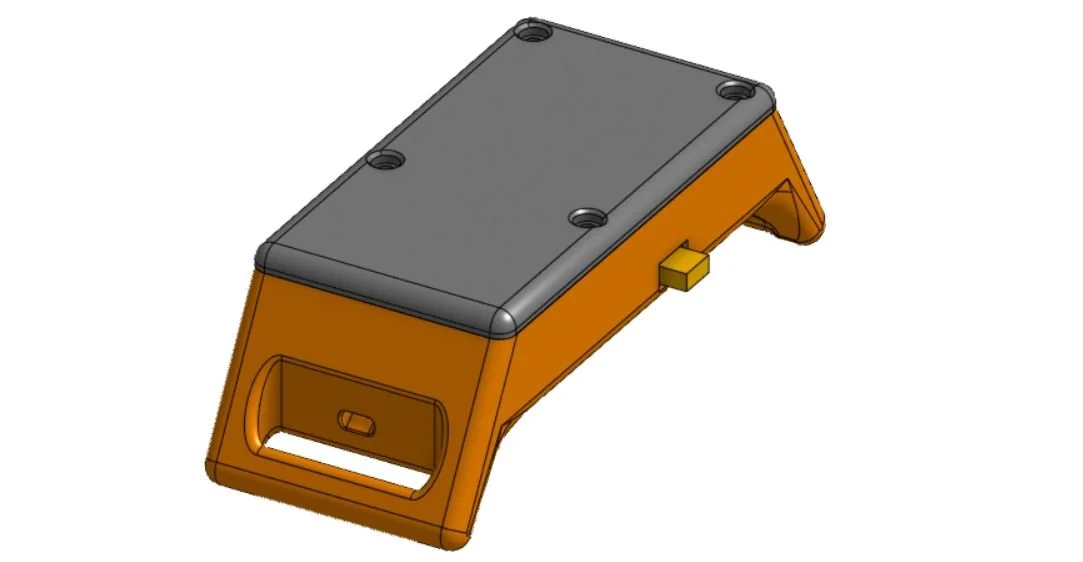
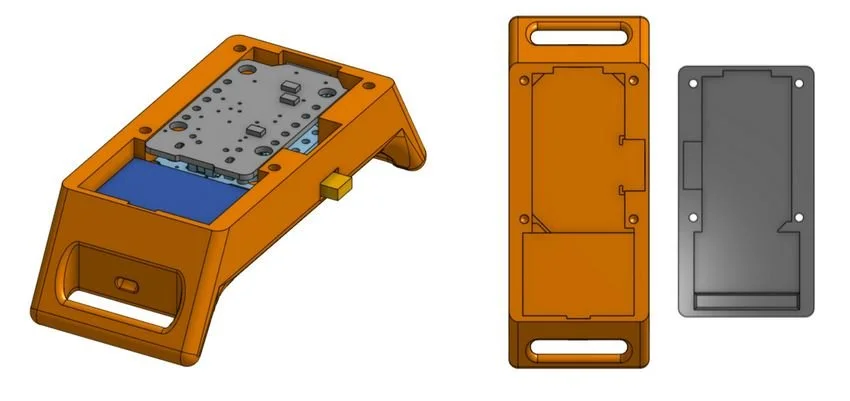
Thickening the walls ultimately made solving another problem easier – the switch. It needed to be as close to the edge as possible in order to be usable, so I put it at the bottom of the case and recessed it into the wall. It was secured by two tiny brackets on the bottom and an extrusion in the cap. The main body of the switch stuck out from the wall just enough to collide with the Trinket, so the walls were widened slightly more.
Small notches were added to allow for wire clearance and two small holes were added to each side near the base to thread the motor wires through. As for the battery connector, the original plan was to have it located underneath the Trinket assembly. It was found when assembling the device that there was room for it on top of the battery itself, so it was ultimately relocated there, which made accessing the connector for charging possible.
The final dimensions of the case are 10.78mm tall, 23.8mm wide, and 59.06mm long.
Further details:
Wristband
An actual wristband that wasn’t just made of velcro started to take shape after designing case 2. It had to be a two layered strap so that it could house the motors, but it couldn’t be so thick that it interfered with the motor efficacy.
I started with a variety of fabric trims: webbing, cotton, and polyester. The webbing was wide enough that it could be folded in half and stitched along one side to create a double layered band. This option was still on the wider side and the attachment point could get bulky. The cotton and polyester both had to have two pieces layered on top of each other and stitched along both sides. This made actually attaching the material very easy – I could just take a piece of trim that was twice the length needed, thread it through the case tab, line up the ends, and stitch up the sides. Early user testing indicated that these two materials were preferred over the webbing, with the polyester being the favorite.
Further trial and error was done after designing case 3. The webbing was still an option, the width just had to be cut down a bit so it could fit the case. It was difficult to get a truly straight line though and so it was really easy to get the band uneven. It looked the nicest of the three when sewn, which still made it a contender despite being more difficult to attach. The polyester and cotton options were too wide for the skinnier cases and they frayed really badly when cut down like I could do with the webbing, so they weren’t options anymore.
Finally I tried an embroidered grosgrain trim that was skinnier than the other three and it just barely fit the case. It wasn’t too thick and could be attached in the same way as the cotton and polyester trims. This particular one had a cog design to it, which wouldn’t be for everyone, but I kept it out of personal preference. Solid color versions do exist.
All that was left was how to get the motors into the band. I cut a slit into the material where it loops around the case tab that was long enough to slide a motor through and left the first centimeter of material from the tab unsewn. This open gap would allow room for maneuvering the motor through the slit. Like the previous materials, this one had a tendency to fray, so the slit had to be stabilized with fray check in order to keep it from doing that.
Further details:
User Testing
Final user testing with the finished product was only officially conducted with two people: one who has experienced panic attacks and Lisa Jellison.
The device did not fit the first user very well due to her tiny wrists, so we tested it halfway up her arm. She said that the vibration felt like a massage on her arm, which she pointed out is sort of soothing. When asked if she thought it would be effective if she were in distress, she believed it would be.
Lisa agreed that it seemed like it could be effective and she said that the randomized vibration felt very similar to EMDR with the TheraTapper.
The device was also tested in-class by a classmate. No specific questions were asked of him, but he announced whenever the pattern changed - this often occurred just as he was getting used to the previous pattern, surprising him.
For ethical reasons, Return to Center was never tested during an actual panic attack.
Precedents and Cost
Two devices similar to this idea already exist: Apollo Neuro and Touchpoints. The common thread between them is they are intended for easing stress, anxiety, and aiding with sleep. They’re meant to be soothing. They are not intended for full-blown panic attacks.
Even if they were intended for periods of significant distress, both options are expensive at $349.99 and $199.99 respectively, which makes the products inaccessible to many people.
The cost of making Return to Center is approximately $20.61.
Pricing breakdown:
$0.61 - Custom PCB (excluding shipping)
$8.95 - Adafruit Trinket M0
$4.95 - TinyCircuits Battery
$3.90 - Vibrating Mini Motor Disc (x2)
$0.38 - 0805 SMD LED (x2)
$0.29 - Diode (x2)
$0.59 - Transistor (x2)
$0.04 - 0805 330Ω Resistor (x3)
$0.45 - JST Connector
$0.22 - Grosgrain Ribbon ($0.57/yd, 0.39yds needed)
$0.23 - Black PLA Filament
Acknowledgements
Mentors:
Kelli Noirot | Electronics and Hardware
Brandon Noirot | CAD
Lisa Jellison, LCSW | Psychology


